
You repaired the crack.
You sanded it smooth.
You painted over it.
And a few weeks or months later, there it is again.
That same crack.
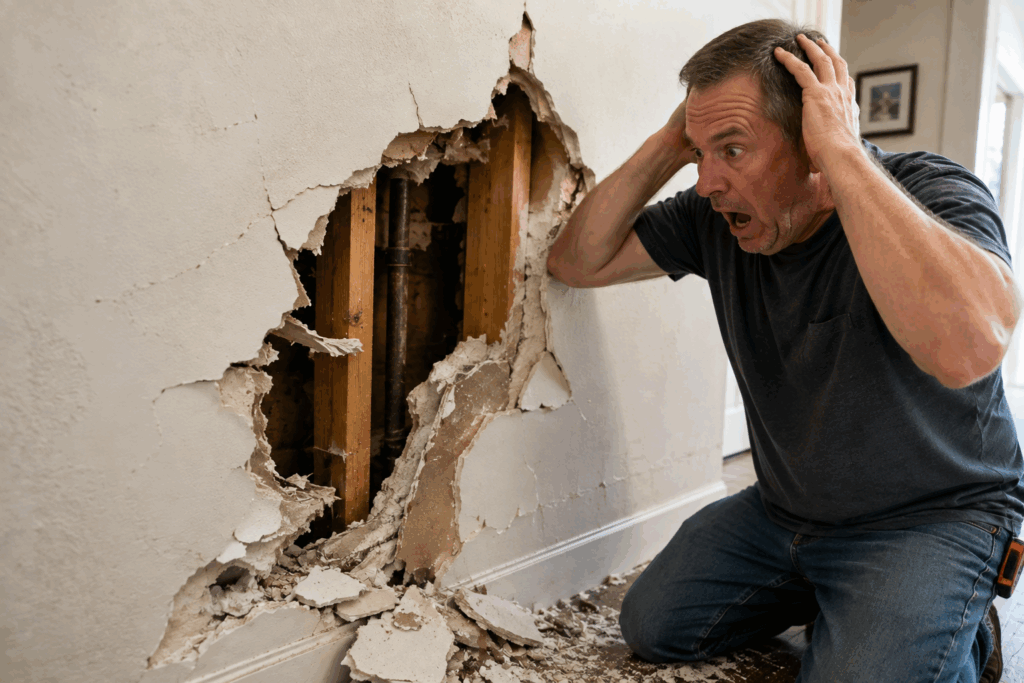
If you've experienced this, the problem may not be that you need more joint compound. In many cases, the surface repair is failing because something underneath the repair is still moving, separating, or allowing the drywall to flex.
A recurring drywall crack is a little like a warning light on your car: covering it up doesn't necessarily fix what caused it.
The good news is that once you understand why the crack keeps coming back, you can choose a repair method that actually addresses the problem instead of repeatedly covering the same damage.
Quick Answer: Why Does My Drywall Repair Keep Cracking?
A drywall repair can crack again for several reasons:
- The drywall or framing is moving.
- The drywall is loose around the damaged area.
- The original joint was not properly taped.
- The wrong reinforcement was used for the situation.
- Too much joint compound was applied in thick layers.
- Moisture or a leak is damaging the drywall.
- The crack is occurring where two surfaces or sections naturally move differently.
- A larger underlying problem is being treated as if it were only a surface crack.
The most important rule is simple:
Don't repair the crack before figuring out why it cracked in the first place.
1. The Biggest Mistake: Repairing the Crack Instead of the Problem
This is where many repeat repairs go wrong.
Someone sees a crack, opens it slightly, fills it with compound, sands it, and paints.
It looks great.
Until the crack comes back.
Then they do it again.
And again.
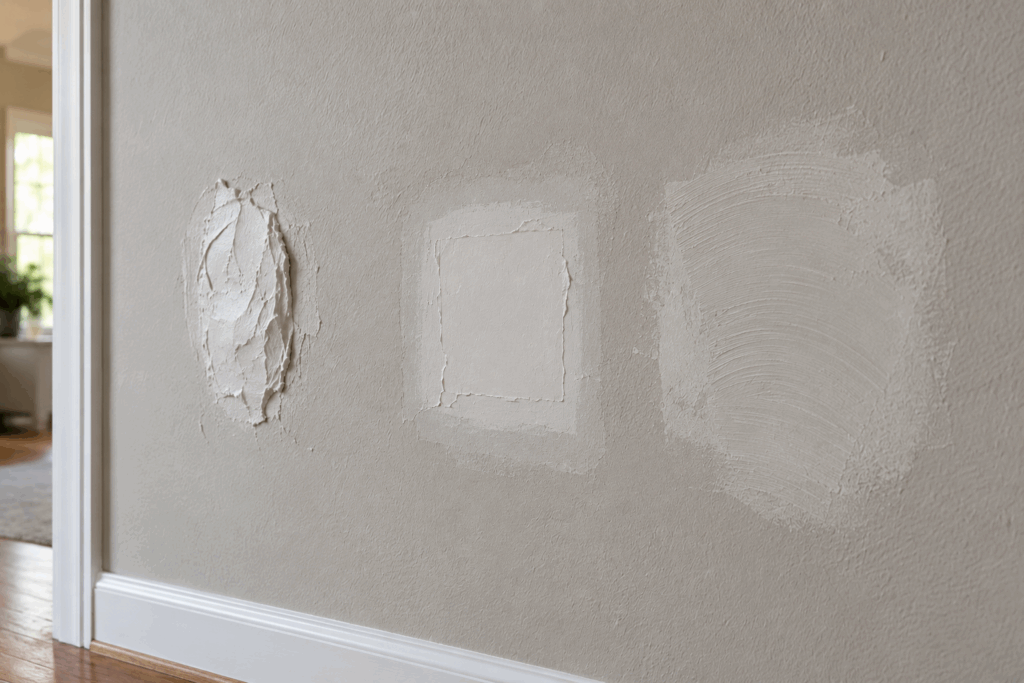
Eventually, you can end up with multiple layers of tape and compound covering the original problem.
The repair may have been perfectly smooth, but the surface was never given a chance to address what was causing the movement underneath it.
That's why a recurring crack deserves a different approach.
Before reaching for more mud, ask:
What's moving? What's loose? What's causing the drywall to separate?
2. House Movement Can Cause Drywall Cracks
Houses move.
Normal settling, seasonal humidity changes, and expansion or contraction of framing can cause drywall and the structure behind it to move over time.
Drywall itself is relatively rigid. It doesn't simply stretch every time the structure around it moves.
So when two connected areas move differently, the drywall finish can become the place where that movement becomes visible.
This can be especially noticeable around:
- wall and ceiling intersections;
- corners;
- joints between drywall sheets;
- doors and windows;
- areas affected by framing movement.
That doesn't automatically mean your house has a serious structural problem.
But it does mean you shouldn't assume every recurring drywall crack is just a cosmetic defect.
3. Loose Drywall Can Make the Crack Come Back
Another common cause is movement in the drywall itself.
If the drywall around the crack is loose, flexing, or not properly secured to the framing, a rigid surface repair can have a difficult time staying intact.
Think about what happens when you repair a crack while the material underneath it continues moving.
The compound may harden.
The paint may look perfect.
But the substrate is still moving.
Eventually, the repair can crack again.
Before repairing a recurring crack
Gently check the surrounding drywall.
Does the area move when you apply light pressure?
Does the panel feel loose?
Does it sag?
If the drywall isn't properly supported, that problem should be addressed before relying on a cosmetic patch.
4. Missing or Failed Drywall Tape Can Be the Problem
Drywall joints aren't simply supposed to be filled with compound.
The joint needs reinforcement.
When a crack occurs along a drywall seam and the joint wasn't properly taped, simply filling the opening with compound may leave the repair without enough reinforcement to bridge the joint.
That's one reason a crack can return even after the surface looks completely repaired.
The exact reinforcement method depends on the location and type of repair, but the principle is important:
A joint that needs reinforcement shouldn't be treated like a simple hole in the wall.
5. Thick Layers of Mud Aren't a Substitute for Proper Preparation
Another tempting solution is to add more compound.
More mud can make a repair look covered.
It doesn't necessarily make the underlying problem stronger.
Thick, unreinforced applications can also shrink as they dry and develop small fissures.
Instead of trying to bury a recurring crack under a thick layer of compound, prepare the damaged area correctly and build the repair using appropriate reinforcement and thin finishing coats.
The goal isn't simply to make the crack disappear today.
The goal is to create a properly prepared repair that can better tolerate the conditions around it.
6. Moisture Can Cause Drywall Cracking
Not every drywall crack is caused by settling or framing movement.
Moisture can also be involved.
Possible sources include:
- plumbing leaks;
- roof leaks;
- water coming from an upper level;
- persistent moisture in the room;
- moisture affecting the drywall or surrounding materials.
If water has damaged the drywall, repairing the visible crack before dealing with the source can lead to another failed repair.
That's why recurring damage near a bathroom, ceiling, roof area, or plumbing should make you stop and investigate.
Important:
If you suspect an active leak or significant moisture problem, fix the source before rebuilding the damaged drywall.
Otherwise, you're potentially repairing the symptom while the cause is still active.
7. Pay Attention to Where the Crack Is Located
The location of the crack can tell you a lot.
A small, straight hairline crack along a drywall joint may have a different cause from a crack that repeatedly appears where a wall meets a ceiling.
Likewise, damage near a door, window, corner, or large ceiling area may deserve closer inspection.
Ask yourself:
Is the crack...
- following a drywall seam?
- appearing at a wall-to-ceiling intersection?
- near a door or window?
- accompanied by sagging?
- associated with moisture?
- getting longer?
- returning after multiple repairs?
- appearing in several areas of the house?
The more often the same crack returns, the more important it becomes to stop treating it as an ordinary surface blemish.
8. What About Cracks in Large Ceilings?
Ceiling cracks deserve particular attention because large drywall areas can experience movement differently from smaller sections.
In the supplied repair example, repeated attempts had been made to repair cracks in a large ceiling area. The underlying issue was not simply another coat of compound; the repair required addressing the larger joint/control-joint issue first.
That's an important lesson:
Sometimes the correct repair is not “repair the crack.” It's “correct the condition that keeps creating the crack.”
If a large ceiling has recurring cracking, especially after multiple previous repairs, don't automatically assume another layer of tape and compound will solve it.
9. How to Repair a Recurring Drywall Crack
Once you've determined that the problem is appropriate for a drywall repair, the repair should start with preparation rather than immediately covering the crack.
Step 1: Find Out Why It Cracked
First determine whether you're dealing with:
- movement;
- loose drywall;
- failed joint treatment;
- moisture;
- a damaged area;
- or another underlying condition.
If there is an active water problem, address that first.
Step 2: Check Whether the Drywall Is Secure
Lightly inspect and press around the damaged area.
If the drywall moves, the panel may need to be secured before repairing the surface.
In the supplied ceiling-repair example, the repairer located the framing and secured the drywall with screws before continuing with the crack repair.
The exact screw length and fastening method depend on the drywall and framing configuration, so don't blindly copy a measurement from another repair.
The principle is what matters:
The repair needs a stable substrate.
Step 3: Open the Crack
A very narrow crack may not provide enough space for the new repair material to properly bond and bridge the damaged area.
One approach described in the supplied material is opening the crack into a shallow V-shaped groove so the new compound has room to anchor.
This also gives you a chance to remove loose material and inspect what is actually happening underneath the surface.
Don't make the repair larger than necessary.
The goal is controlled preparation—not unnecessary demolition.
Step 4: Reinforce the Repair
Once the damaged area has been properly prepared and stabilized, reinforcement may be needed.
For drywall joints and recurring cracks, the reinforcement method matters.
The supplied technical material specifically notes that paper tape can provide useful tensile reinforcement for certain joint repairs, while fiberglass mesh can behave differently under shear stress.
So don't assume that every crack should automatically receive the same tape.
The location, movement, joint type, and repair system all matter.
Step 5: Build the Surface With Thin Coats
Don't try to finish the entire repair with one giant application of compound.
Instead, build the surface gradually.
Thin coats allow you to:
- control the shape;
- reduce excessive buildup;
- create a smoother transition;
- feather the edges;
- minimize sanding.
The repair should gradually disappear into the surrounding wall rather than leaving a raised patch.
10. Feathering Is What Helps the Repair Disappear
One of the biggest differences between a patch that looks obvious and one that blends into the wall is the transition around the repair.
You don't want:
wall → raised patch → wall
You want:
wall → gradual transition → repaired area → gradual transition → wall
That is why finishing compound is normally spread progressively farther beyond the original damage.
The larger the repair, the more important that transition becomes.
A repair can be structurally sound and still look terrible if the edges are not feathered properly.
11. Don't Rush the Sanding
Sanding isn't supposed to remove the entire repair.
Its job is to refine the surface and remove imperfections.
If you aggressively sand the center of the repair, you can create a low spot and undo some of the work you just completed.
Instead, concentrate on:
- high spots;
- ridges;
- rough edges;
- visible transitions.
Use appropriate sanding equipment and protect yourself from drywall dust.
A good repair should require less aggressive sanding because the compound was applied smoothly in the first place.
12. Before You Paint, Check the Repair From the Side
Here's a simple homeowner trick:
Don't only inspect the wall straight on.
Look at it from an angle.
Side lighting can reveal:
- ridges;
- dips;
- raised edges;
- sanding marks;
- uneven transitions.
A repair that looks perfect from directly in front of you may suddenly become obvious when light hits it from the side.
Fix those imperfections before painting.
Paint is not a magic eraser.
In many cases, it makes surface imperfections easier to see.
13. Prime Before the Final Paint When Appropriate
A repaired area can absorb paint differently from the surrounding wall.
That can make the repair visible even when the surface itself is smooth.
Priming the repaired area when appropriate helps prepare the surface for the finish coat.
Then match the existing paint as closely as possible.
Remember:
A smooth repair and a good paint match are two different parts of making the repair disappear.
14. What If the Crack Keeps Coming Back After You Repair It?
This is the point where you should stop automatically repeating the same repair.
If you've already repaired the crack several times and it continues returning, ask:
Has anything changed?
- Is the drywall still moving?
- Is there moisture?
- Is the framing moving?
- Is the crack occurring at a joint?
- Is the repair being reinforced appropriately?
- Is there a larger construction or structural issue?
- Is this a location where two surfaces naturally move differently?
Repeated failure is information.
It tells you that the previous approach may not have addressed the underlying condition.
15. When a Drywall Crack May Need More Than a DIY Patch
Not every crack means you need a contractor.
Many ordinary drywall repairs can be manageable for an experienced DIY homeowner.
But you should be more cautious when you see:
- significant or continuing movement;
- major separation;
- substantial sagging;
- active or unexplained moisture;
- recurring cracks in multiple locations;
- cracks associated with other visible building movement;
- damage that keeps returning despite proper repairs.
In those situations, the drywall may only be showing you a symptom of something else.
A surface patch isn't a substitute for identifying a potentially larger problem.
16. The DIY Rule to Remember
Before repairing a recurring drywall crack, remember these four questions:
1. What's causing the crack?
2. Is the drywall secure?
3. Does the repair need reinforcement?
4. Is there a moisture or movement problem that needs to be addressed first?
If you can't answer those questions, you're not ready to simply cover the crack.
Drywall Crack Repair Checklist
Before you start:
☐ Identify what caused the crack
☐ Check for loose or moving drywall
☐ Check for signs of moisture
☐ Remove loose material
☐ Open the crack enough to properly prepare it
☐ Use appropriate reinforcement when needed
☐ Build the repair with controlled coats
☐ Feather the edges
☐ Sand carefully
☐ Inspect the surface from different angles
☐ Prime when appropriate
☐ Match the final paint
The Bottom Line
If your drywall repair keeps cracking, don't assume you need more joint compound.
The crack may be telling you that something underneath the repair is moving, loose, improperly reinforced, or affected by moisture.
A successful repair starts with understanding the cause, not simply hiding the symptom.
For a straightforward drywall crack, proper preparation, stabilization, reinforcement, controlled coats, feathering, sanding, and finishing can make a huge difference.
But if the damage keeps returning, especially after several repairs, stop and investigate why.
Don't keep repairing the crack. Find out why the crack keeps happening.
That's the part that can save you from doing the same repair over and over again.
Related Drywall Repair Guides
Have a larger hole?
Learn how to choose the right repair method for small, medium, and large drywall holes.
Dealing with a doorknob hole?
See how to repair common door-impact damage without turning a small repair into a much larger project.
Your patch looks fine until you paint it?
Learn why drywall repairs can remain visible after painting and how to create a smoother transition.
Removing shelves left holes everywhere?
Learn how to repair drywall anchor holes and prepare the wall for paint.
Not sure if your crack is just drywall?
Learn what signs suggest that a recurring crack deserves closer attention before you repair it again.